

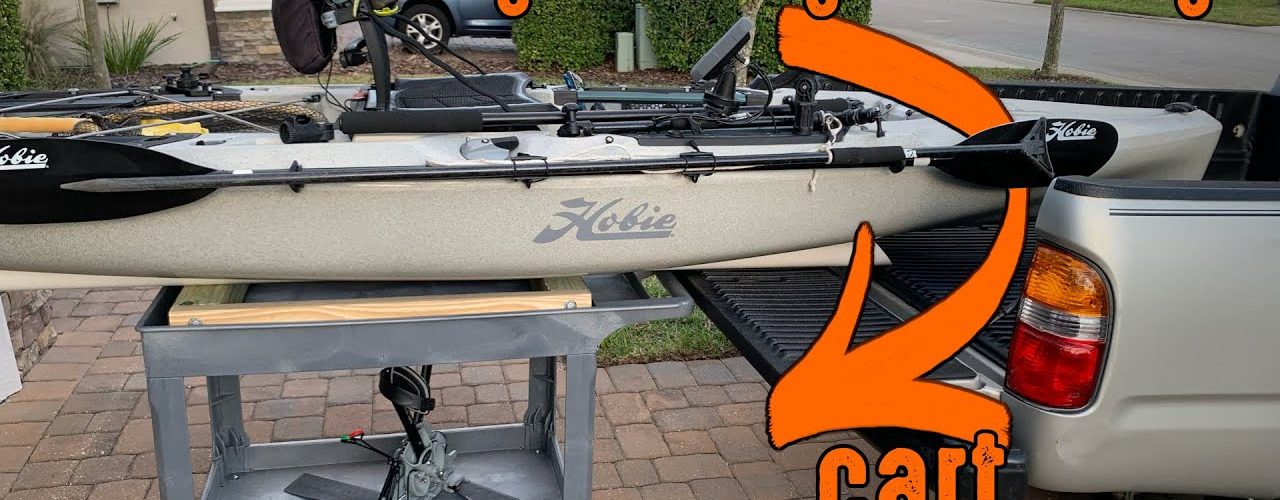

Nowadays, kayak storage and loading carts are essential! The reason? Kayaks are heavy, and lifting them without a storage and loading cart is certainly no fun. But it’s easy to eliminate the pain of loading and unloading a kayak onto a truck bed with this easy to make kayak storage and loading cart. I’ll show you how to make it in just a few minutes!
As we at Kayak Angler have seen, there may be no more popular home project for today’s heavy fishing kayaks. — KayakAnglerMag.com
Requirements
When scouring YouTube for how to make a cart, I had three requirements in mind. First, I needed the cart to disassemble easily. After all, I have a two car garage and at times I want to park both cars inside. In order to do that I’d have to hang my kayak on my storage rack and disassemble the cart. This cart disassembles in 2 seconds or less! Next, I needed the cart to do more than just store my kayak in the garage, I needed it to go the extra mile and assist me in loading my Hobie Outback into the bed of my truck. Wait till you see how this one pivots to do that. And finally, when I unloaded my kayak I wanted to be able to hose it down and have the cart not be damaged by the water. This design even helps to drain the water!
Design Credit
The overall design of this cart came from a former YouTuber, Lef Yak Fishing. He’s since left YouTube and encouraged me to make a video about the cart instead. Thanks Lef!
Parts
Here’s what you’ll need as parts.
- (2) 4 x 4 x 21 1/2″ – treated lumber
- (2) 2 x 4 x 33 1/4″ – treated lumber
- (8) 3/8″ x 4″ galvanized lag bolts
- (4) 3/8″ x 3″ galvanized lag bolts
- (12) 3/8” galvanized washers
- (2) 3″ x 8′ PVC
- (4) furniture feet glides
- (1) Uline Utility Cart – 45 x 25 x 33″ (H-2504)
Tools
- Drill
- Carpenters Square
- Socket Set or attachments for your drill
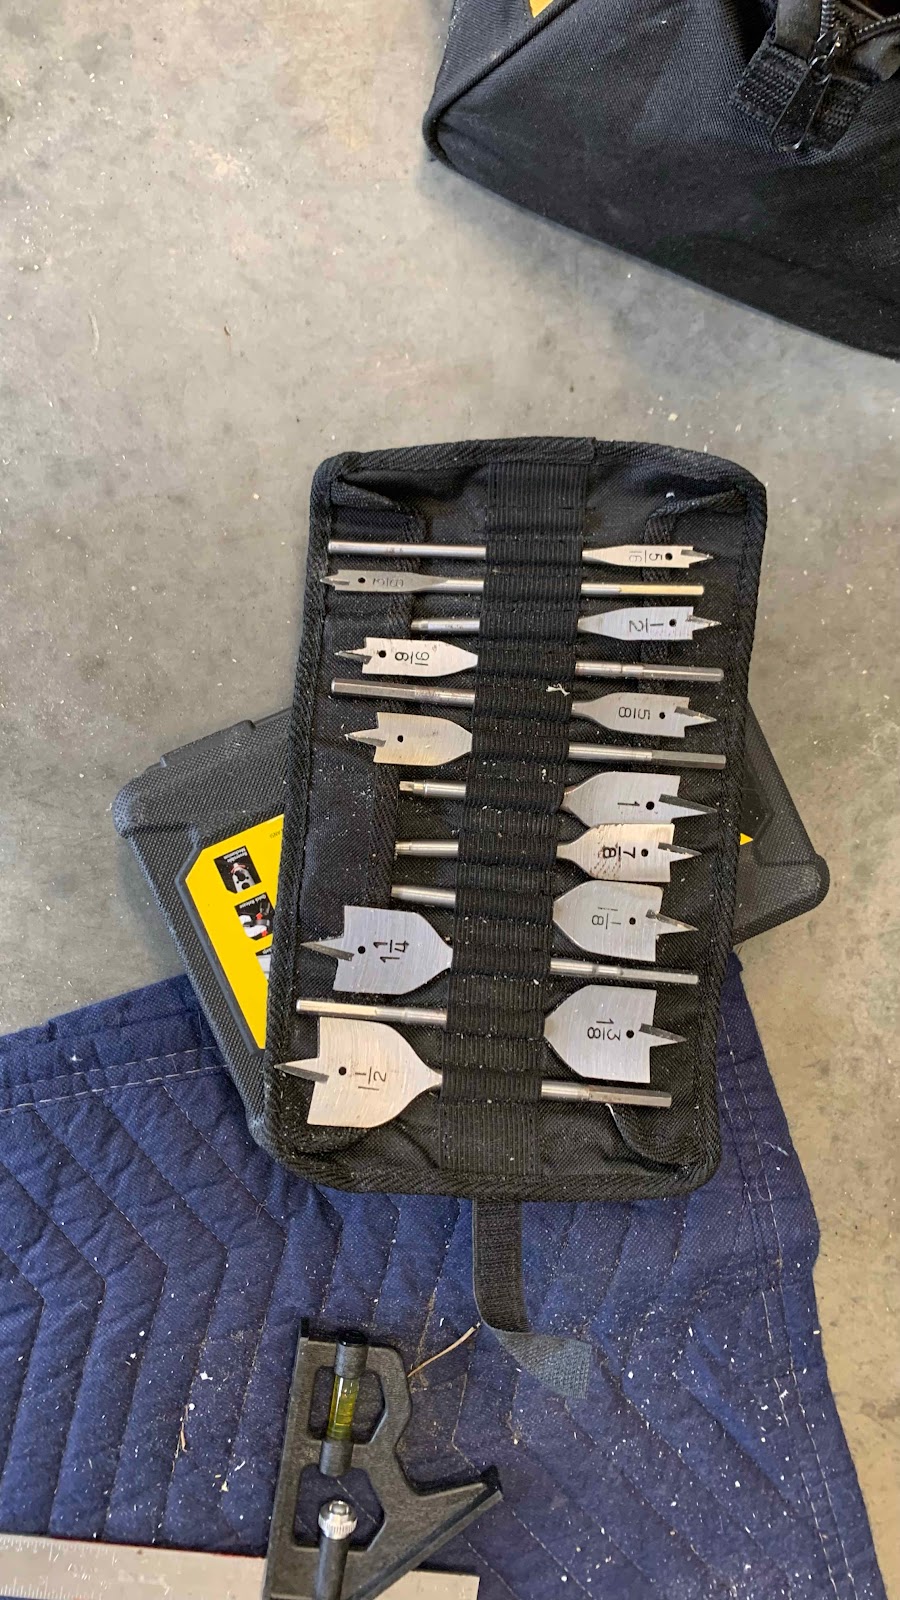
- 7/8″ paddle bit to countersink your lag bolts
- 1/4″ bit to drill pilot holes for your lag bolts and to create drain holes
- 1″ bit to drill the top of the PVC
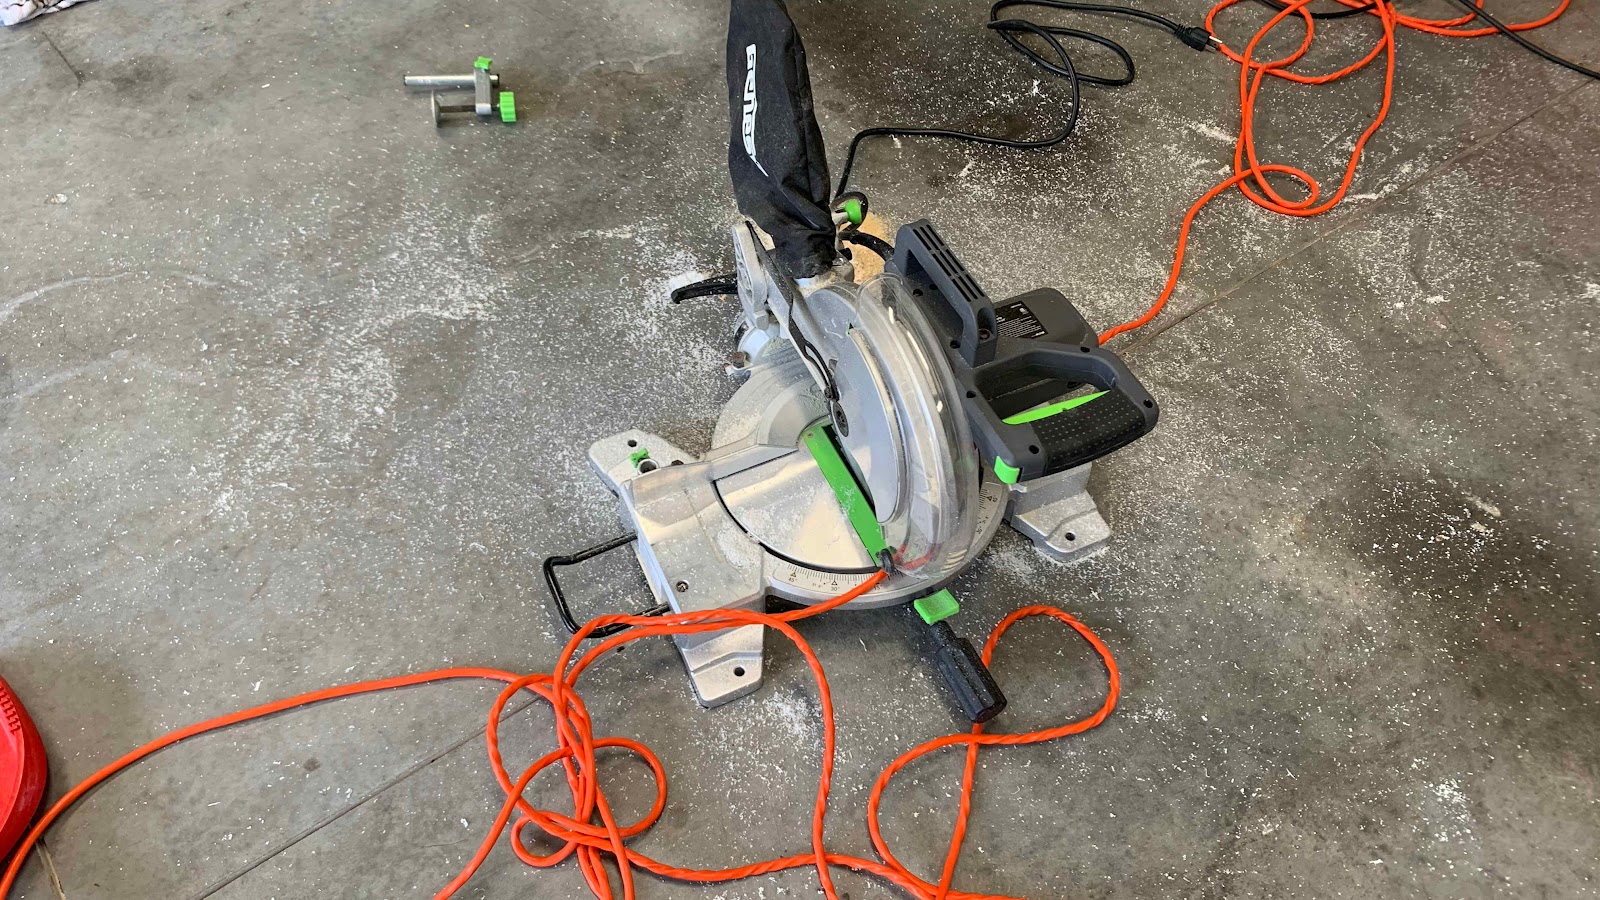
- Saw to cut your lumber
- Marker
- Sandpaper
Instructions
So let’s get started.
Step 1 : Cut the wood & PVC to size
- The 4×4’s should be exactly 21 1/2″ and perfectly square.
- The 2×4’s should be 33 1/4″ or slightly longer as explained in the video
- The PVC should be 8′ long and you can optionally add a 45* angle cut as seen in the video
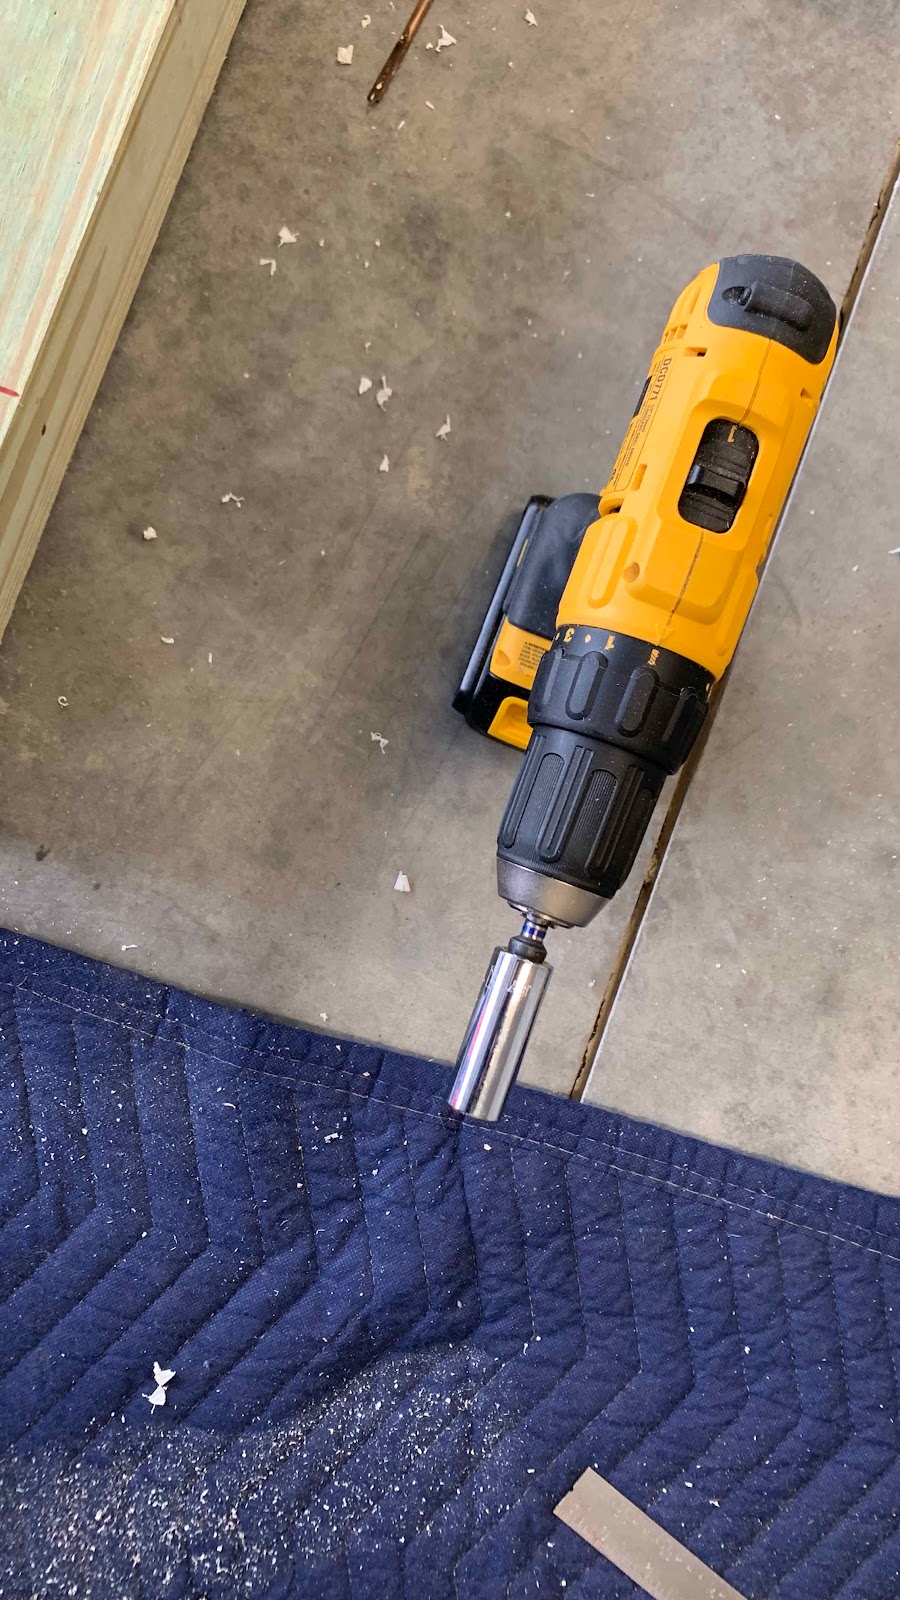
Step 2: Drill the holes in your 2 x 4’s

- I made a Jig to help me countersink the holes on each end of the 2×4
- Align it and drill partway through your 2×4, just deep enough to recess the head of your lag bolt and a washer.
- The drill bit should be wide enough to receive your socket
- Then drill out the center with your pilot hole bit.
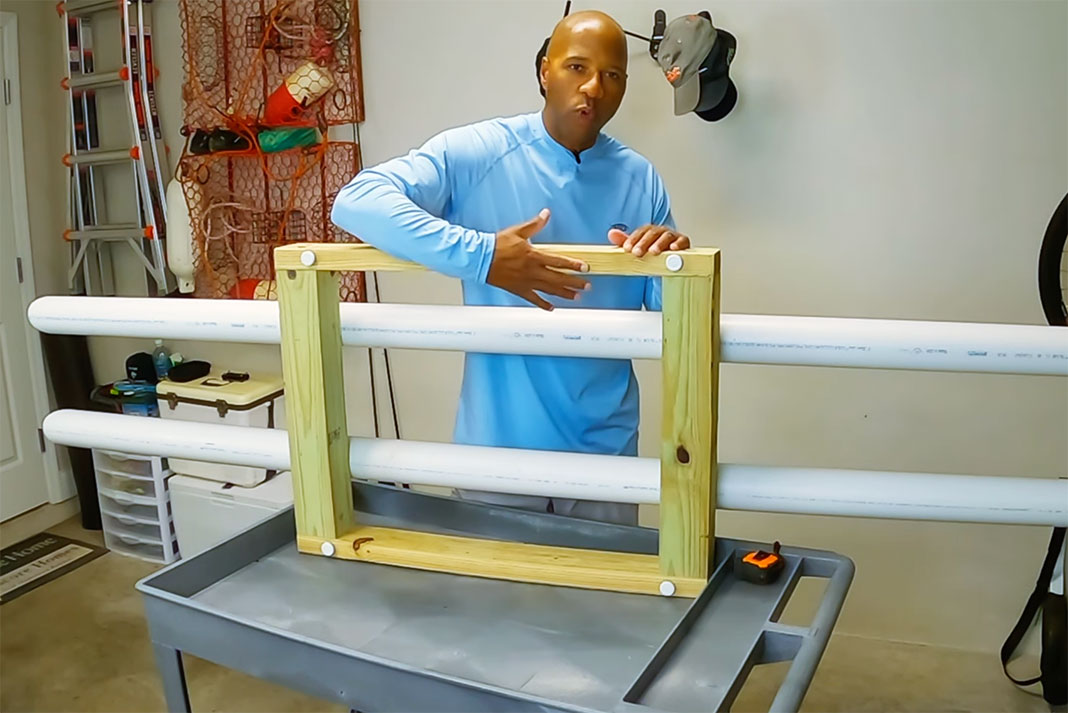
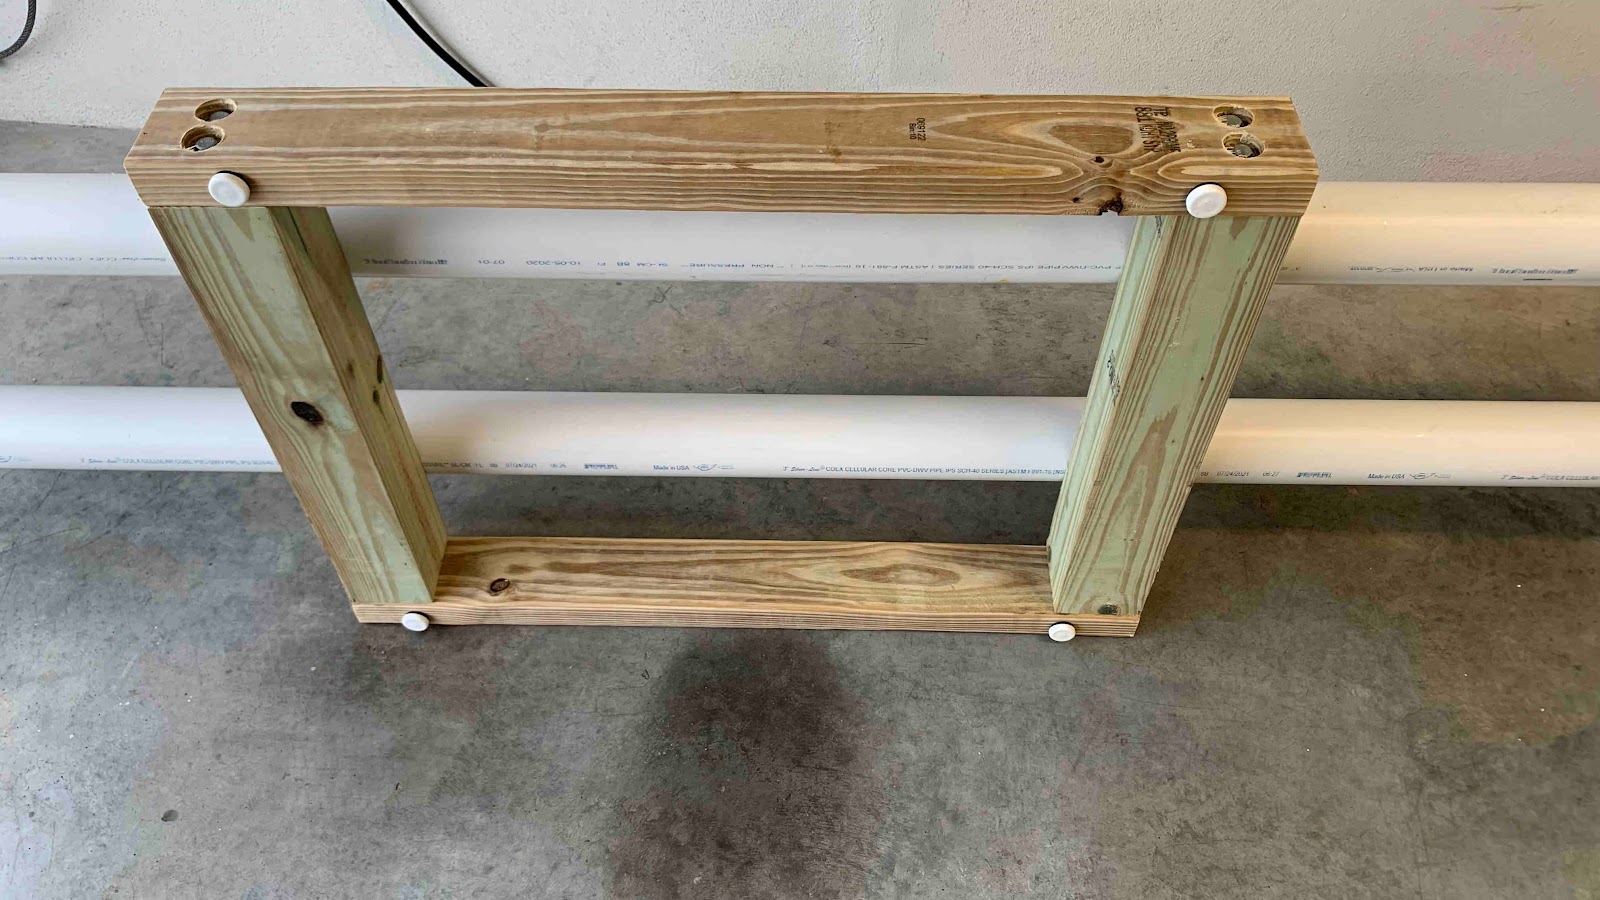
Step 3: Drill the pilot holes in your 4×4’s
- Align the 2×4 to the 4×4 and make it square
- Using the pilot hole in your 2×4, drill the pilot hole into your 4×4, and bolt it on with a 4” lag bolt and a washer
- Check to make sure you’re square and attach the second bolt
- Repeat this process for all four corners, one bolt at a time, and your box is complete.
Step 4: Mark your box for the positions of the PVC.

- 1st measure your kayak, the width of the indentions on the bottom. For a Hobie Outback they are 11.5” apart. That means you want your PVC to be 11.5” apart, center point to center point.
- Using your square mark your box with those lines. Also, make an X on that line in the center of the 4×4
Step 5: Mark your PVC

- Layout your PVC on the ground parallel to the box and center it so that the amount of tubing to either side of the box is even.
- Spin the PVC until the line printed on it is pointing straight up. Now mark that line for where it will connect to the 4×4
- Using the pilot hole bit, drill through the top and bottom of the tubing, and repeat for the hole where the tubing will attach to the other 4×4
- Now spin the pipe over to the other side, and using a larger paddle bit, make the hole on the top large enough to fit your socket into it.
Step 6: Attach the PVC to the box using the 3” lag bolts and a washer
- It’s helpful to lay the PVC onto the box and looking down through the holes, align the pre-drilled pilot hole with the x.
- Drill the pilot hole in the 4×4 and attach the 1st lag bolt loosely.
- Now you can swing the PVC into place until you see the line on the other 4×4 through the second hole in the PVC. Simply mark and drill your pilot, then attach it with another 3” lag bolt and washer.
- Repeat the process for the second PVC tube and you’re all done
- Use a flashlight in the tube to assist with sight
Step 7: Attach the Feet
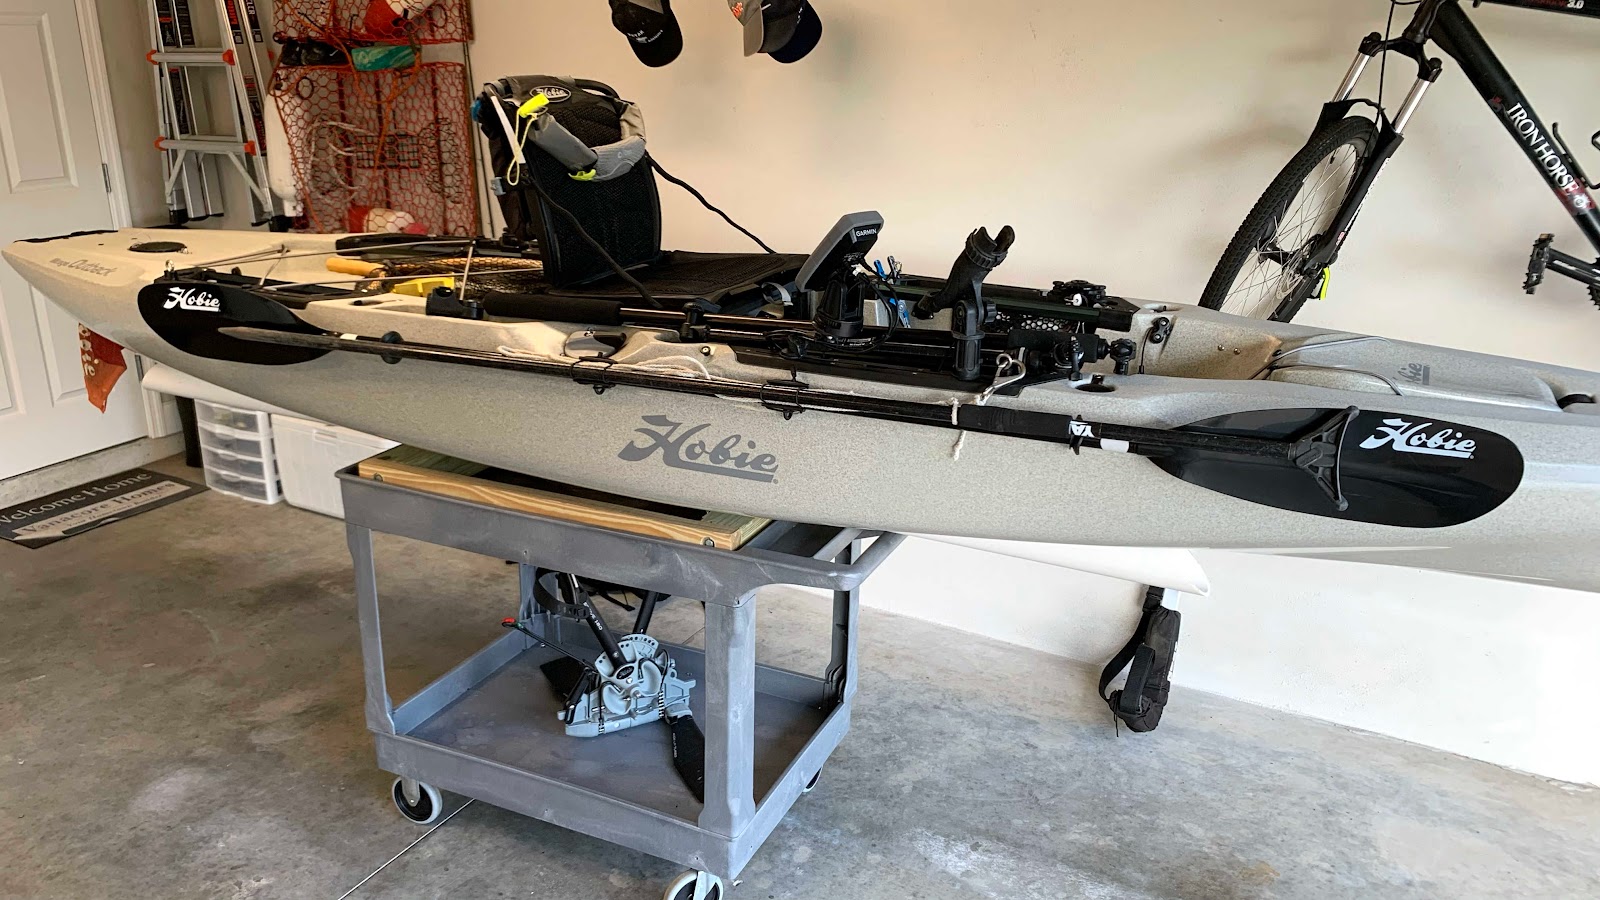
Step 8: Assemble your ULINE cart per the instructions
Step 9: Drain Holes
- Drill drain holes at a 45* angle through the corners of the cart and tray; you’ll also want some in the center
Step 10: Finally, drop your box into the top tray and you’re ready to go.


Before you go, don’t forget to check out my related article and video on how to convert a jet ski trailer into a kayak trailer!
~Kayak Fishing Addict


fantastic! on my list for an early spring project!
Hey! Great build. Just ordered my Uline cart. Couldn’t you use wood screws instead of bolts?
Chris
Yes, you can. Lag bolts will be stronger, but wood screws would work too. Just be sure they’re galvanized…. when you spray your kayak off you’ll want to avoid rusting out the screws.
Hey Ron, brilliant design. Question for you. I noticed you have a smaller truck. I have a full size F150, I didn’t know if the cart, plus PVC pipes would be tall enough to slide the kayak into my bed. From the concrete to my open tailgate is 35 3/4″. Could you please give me the measurements from the ground to the bottom of your yak?
Thanks. I’m glad you enjoyed it. My truck bed is 33.75” inch off the ground to the bottom of the kayak.
I have a question so they say you shouldn’t leave your kayak on a flat surface on the hull side if I built this system would I be able to keep my kayak stored on the PVC pipes without damaging the hull for long term storage
Hi Rick. I’ve heard the same thing. All I can share is what I do, my results, and what Hobie says.
What I Do
I leave my kayak on the hull side on these pipes in my garage in North Florida without issue. My Hobie dealer stores kayaks on racks in a similar way and he even stores them straight up in the air standing on the bow! I think you just have to be careful of where the stress/weight is on the kayak. You don’t want to warp or flatten out any areas that shouldn’t be. On this rack the weight is distributed along the grooves on the bottom from bow to stern.
What Hobie Says
https://www.hobie.com/articles/storing-your-kayak,85/
The key to me is that they’ll sell you a cradle that will support the kayak in n-spots where n is the number of cradles you purchase which is likely two.
Great video and project! Everyone seems to be out of stock on 3″ PVC right now. ABS would work wouldn’t it? Or 2″ PVC?
Someone else used 2″ PVC and said that it worked for them. I’m not sure about ABS.
I just assembled the cart i got from Harbor Freight and have my Pelican Catch Mode 110 sitting on it until tomorrow when I will put the rest of this build together.
I’m so glad I found your video. Its a great set up and easily put together.
Thanks.
I’m glad it worked out for you!
Ron, what a fantastic storage idea. I have been scouring the internet trying to find an ideal solution for moving and storing my Hobie Outback. This looks to do that well. Quick question, I have a Toyota Tundra that is lifted 5 inches and on large wheels/tires. If i wanted to double the hieight of this, i figure i can stack another box frame on top of the other one. What would you use to secure the two boxes together?
Thanks again!
If I had to extend it higher I would do the same thing, stack another box on top. I’d secure the two together with the screws that I use to attach the four pieces together to form the box. You could use the same ones, maybe a bit longer, to attach the two boxes vertically together.
I’ve been needin’ to do somethin’ with my Hobie Mirage Passport 12R b/c I was tired of pickin’ it up and carryin’ to my truck. Hobie kayaks are heavy and will kill your back. So I looked into just placin’ it on a platform with caster wheels so I looked on YouTube and your video came up and this is what I should have done along time ago. Canceled a lot of kayak outings b/c of dreadin’ liftin’ my Hobie kayak. Goin’ to do this project and Harbor Freight behind my house carries a utility cart similar to the one in your tutorial video. Glad that this is on YouTube and a huge help. Take care bud!!
I’m glad you found it helpful and I hope it helps you get out on the water more!